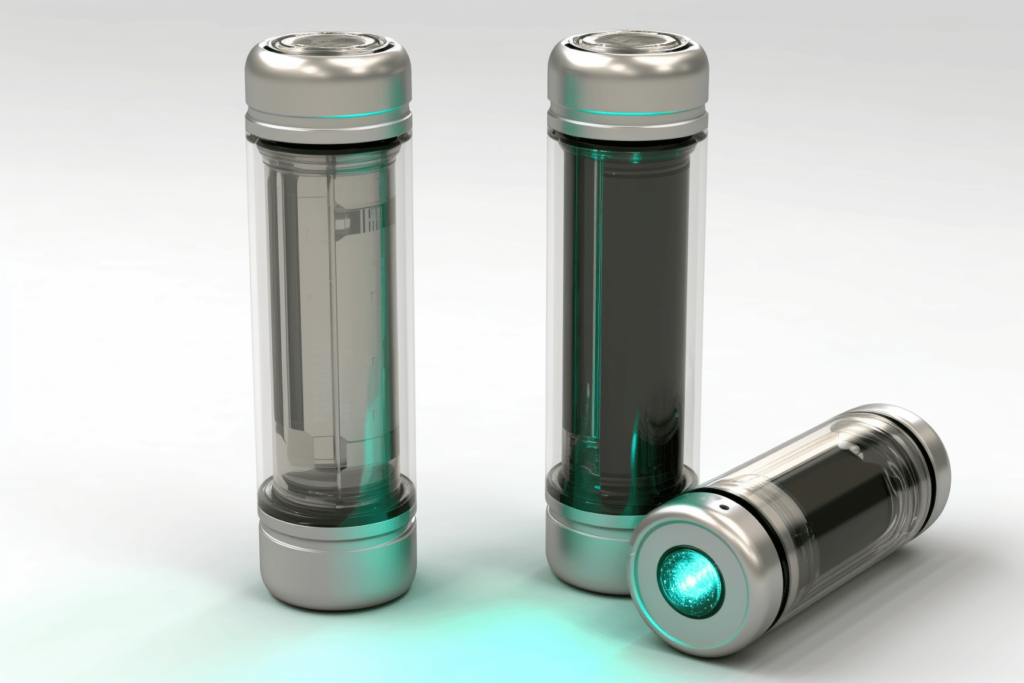
Harnessing the power of the sun to convert saltwater into potable water is a fantastic solution for water scarcity problems, especially in coastal regions with plenty of sunlight. In this comprehensive guide, we’ll detail the steps you need to take to design a portable solar-powered desalination bottle.
Materials and Bottle Design
Start by choosing a durable material that is resistant to UV rays. Polycarbonate is a commonly used material for this purpose due to its high UV resistance and durability, but it’s essential to consider the environmental impact of the material you choose.
The design of the bottle is just as important. A cylindrical shape with a flat bottom is ideal to maximize solar absorption. The size of the bottle should be compact enough for portability, with a capacity around 1 liter.
Dual-Chamber Design
The interior of the bottle should be divided into two chambers: the lower chamber for saltwater and the upper chamber to collect the purified water. This dual-chamber design is the key to the desalination process.
The lower chamber should be colored dark, preferably black, to absorb maximum solar heat. You might consider using a heat-absorbent material or coating on the interior of this chamber.
Evaporation and Condensation Mechanism
The evaporation and condensation process is facilitated by the design of the bottle’s lid. It should be constructed from a heat-conductive material such as aluminum, which channels the water vapor from the lower chamber to the upper chamber.
Additionally, to improve condensation efficiency, consider adding a heat sink or using a material that naturally stays cooler for the upper chamber. These steps ensure a clear distinction in temperature between the two chambers, which is crucial for the process.
Intake and Output Ports
The lower chamber requires a sealable opening for adding saltwater. This could be a simple screw-top design, ensuring a tight seal to prevent leaks.
On the other hand, the upper chamber should have a user-friendly output design for drinking the purified water. This could be a small spout or even a straw-like apparatus.
Insulation and Efficiency
An insulated double-wall design can significantly enhance the bottle’s efficiency. It serves to keep the lower chamber hot, promoting evaporation, and the upper chamber cool, aiding condensation.
Consider using materials with good thermal insulation properties. However, remember that the material should still be safe and suitable for use with drinking water.
Safety Measures
When designing your solar-powered desalination bottle, safety is paramount. A crucial safety feature to include is a pressure relief valve. This will prevent the buildup of excessive steam pressure within the bottle, which could potentially be dangerous.
Putting it All Together: How It Works
Once your solar-powered desalination bottle is designed and assembled, it’s straightforward to use. Fill the lower chamber with saltwater and seal the bottle. The sun will heat the lower chamber, causing the water to evaporate. This vapor then rises to the upper chamber, where it condenses back into its liquid state, leaving the salt and other impurities behind in the lower chamber. The user can then consume the purified water directly from the upper chamber.
While a solar-powered desalination bottle may not provide a high output rate, it is invaluable in emergency survival situations, or in regions where fresh water is scarce but sunlight is abundant. It’s an excellent example of leveraging natural resources to address fundamental human needs.